Windows updates do take a lot of space. The situation becomes more adverse when a major upgrade to Windows 10 is released. Windows 10 keeps a copy of existing Windows installation before writing the new files to the disk. The backup helps if the new installation causes issues on the system. So, with a backup in place, users can downgrade to older version of Windows 10.
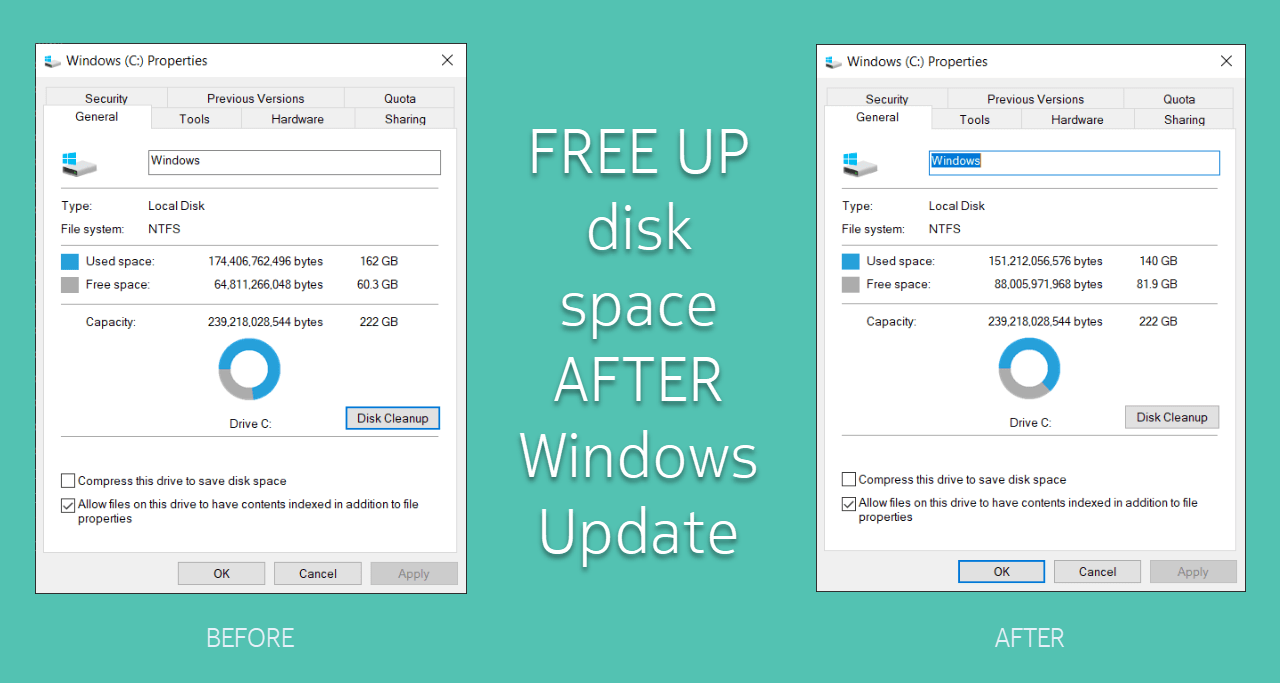
The previous Windows installations consume a lot of space though. For example, my PC’s C drive lost more than 50 GBs after upgrading to Windows 10 October update. After testing the new Windows installation for stability, it is fair for the users to free up disk space by removing the old installation. Thankfully, Microsoft has made it fairly easy to remove an earlier installation (backup) of Windows 10.
Remove previous installation(s) of Windows
Before removing any previous installations to free up disk space, do note the following:
The Disk Cleanup utility in Windows 10 helps to easily wipe old Windows installation and clean up the disk. Here is the procedure step-by-step.
- Open Windows Explorer (File Manager).
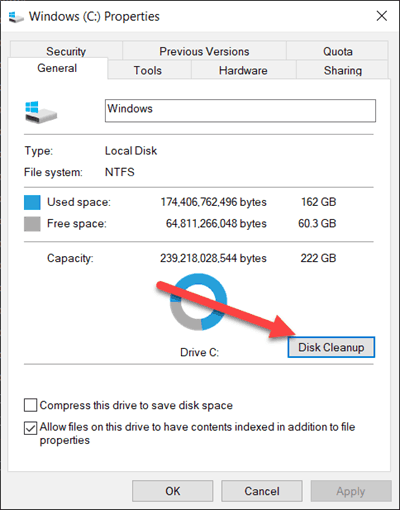
- Right click on the Windows drive [usually labelled as – Windows (C:)] and click on Properties.
- Click on Disk Cleanup to open the Windows Disk Cleanup utility.

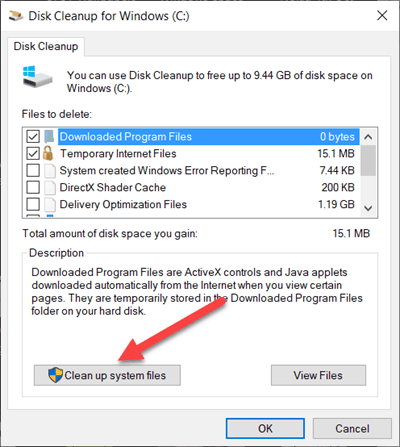
The utility will take a few moments to calculate disk space used by various items on your system drive. - Now click on Clean up system files. This is a separate section because it involves deletion of more critical files which should be deleted carefully.

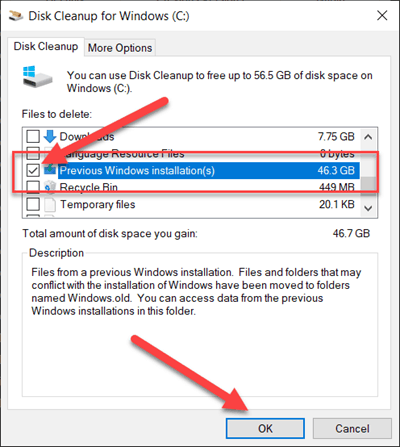
Windows will once again take some time to compute the data size before presenting the new window. Please be patient. - Un-check the already selected items (unless you know what they are) and select only Previous Windows installation(s). Then click on the OK button.

- Windows 10 will warn you against deleting the previous installation as this will drop your ability to restore the PC to a previous version of Windows. Click on YES to continue the deletion.
- That’s it! It will take several minutes to delete, depending on the size of the previous installation and your disk’s R/W speeds.
The amount of space freed will depend on the size of previous installation. In my case, the previous installation was around 46.3 GB.
Here are a few questions which you might have in your mind:
Manually clearing the installation is only necessary if you are low on disk space. It also becomes important if you are like me who cannot see the disk being used up with no real use.


Add Comment