
Nokia X2, is the last member of the Android powered Nokia X series (from Microsoft). The phone is hugely improved from the 1st generation Nokia X devices and tries to fix a lot of usability issues present in them, but unfortunately the X2 has not gained as much attention as they got.
Fortunately enough, some developers have contributed their efforts and brought new custom ROMs and recoveries for Nokia X2. The contributors are vm03, zombah, FrozenTears, symbuzzer, SonnySimon, kaotd99, HD2killers, Masteryus, Mazikaaa, esam122333 & x2wolf (that’s me).
Symbuzzer recently developed a Multi-Bootloader kernel for Nokia X2. With this the users can use multiple ROMs simultaneously on Nokia X2. Booting is as simple as just selecting the ROM.
1. Re-partition Your SD card:
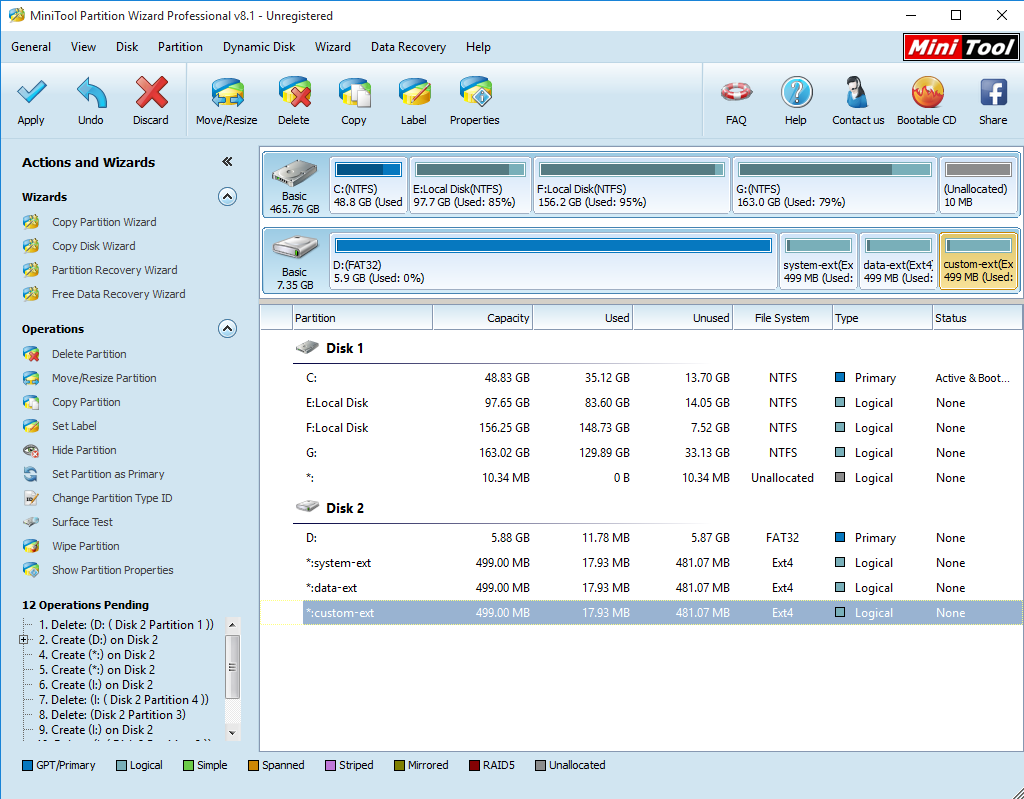
You need to create 4 partitions of the SD card for system, data, custom and media files.
- 1st partition as FAT32: for your media files (music, photo,etc…)
- 2nd partition as ext4 (minimum size: 500MB): for /system-ext
- 3rd partition as ext4 (minimum size: 500MB): for /data-ext
- 4th partition as ext4 (minimum size: 400MB): for /custom-ext
1.1 How To Re-partition SD Card:
We will be using MiniTool Partition Wizard for this purpose.
- Download the MiniTool Partition Wizard from their website and install it.
- Use the following key to register.
38X8FPX3AMY3V53SMXKXPXY33CFCKUUP
- Now connect your SD Card to your computer using a card reader, and open MiniTool Partition Wizard.
- Now right-click on the SD card and select “Delete”.
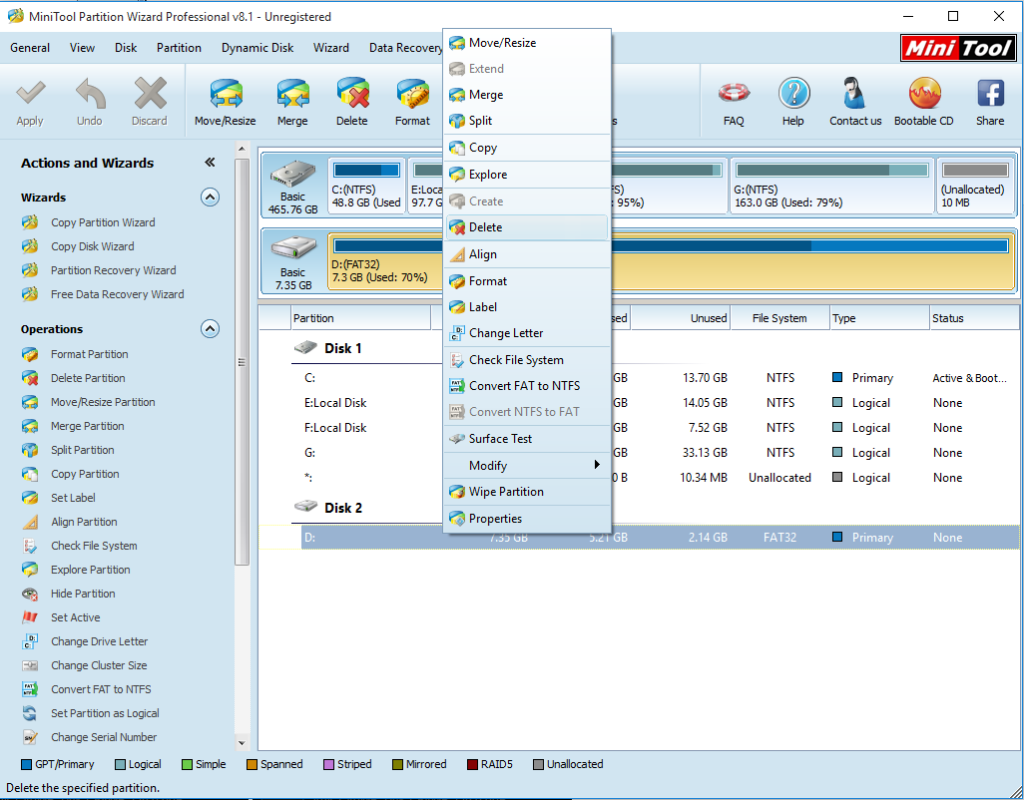
- Now again right-click on SD card and select “Create”.
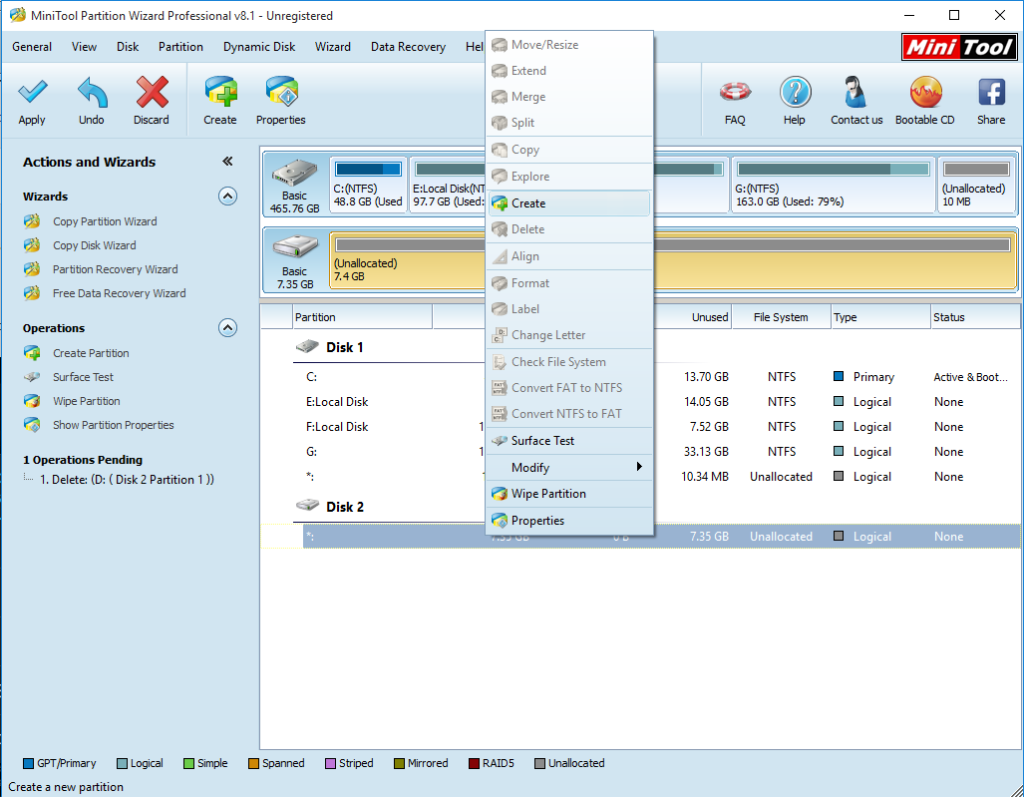
Create - Now create 4 partition of the type and size stated above.
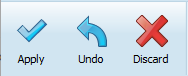
4 Partition with given type and size - Click on the “Apply” button in the upper left corner.
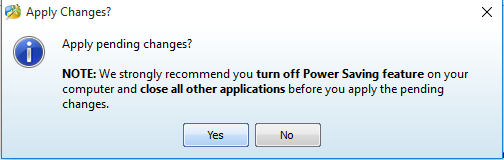
Apply Changes - A warning message will appear, click on “Yes”.
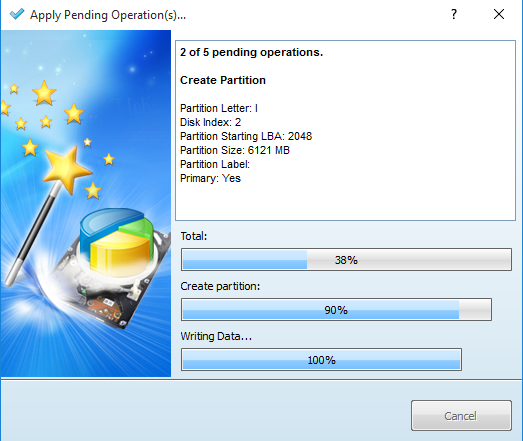
Warning Message - Wait for the process to complete.
- After the process is complete, a successful message will be shown.
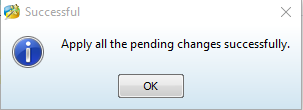
Successful - Now you have partitioned your SD Card and now you can move on to the part of flashing files.

Check this video if the above instructions are not clear to you:
After the partition you can flash the MultiBootloader kernel and flash ROM’s. The instruction about this are given in Part 2. Dual Boot On Nokia X2 (Part-2)


Add Comment