Nokia 7.2 and Nokia 6.2 come with an unlockable bootloader. The thing that compliments unlocked bootloader best is root access. So, this guide will help you in rooting the Nokia 7.2 or Nokia 6.2. You have a choice between Magisk patched boot images and TWRP recovery. I’d recommend going the Magisk boot images route, but if you are familiar with how A/B devices work, then you can use TWRP.
First of all: Before continuing, make sure that you have unlocked your bootloader. Learn from the links below:
Option 1: Root Nokia 7.2 or 6.2 using Magisk patched image
In this root method, we will be patching the boot image with Magisk and then use it to install Magisk. We will provide boot images with Magisk installed, so, you will only need to boot them and do the direct install of Magisk. Here are the details:
- On your phone: Enable USB Debugging (Settings > System > Advanced > Developer Options > USB Debugging).
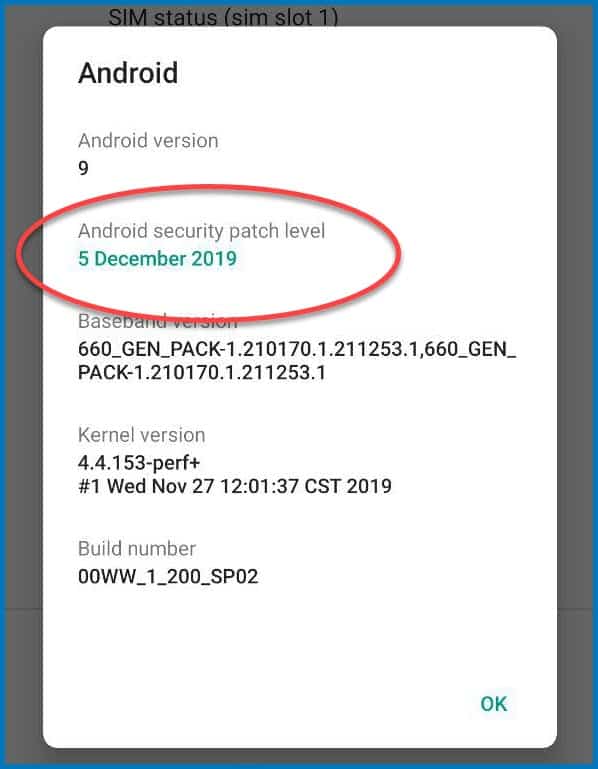
- Open Settings > System > About phone > Android version.
- Note down the Android security patch level (this is important).
- Download and install the Magisk Manager app on your phone. Download Magisk Manager.
- On your PC: Download the Minimal ADB and Fastboot if you do not have it already.
- On your PC: Download the Magisk boot image as per the installed security patch on your phone. For example, if you have the October Security patch installed on the phone, then download the October boot image.
Download Magisk Boot Image - Reboot your Nokia 7.2 / Nokia 6.2 to bootloader or fastboot mode. For that, open a command window in your ADB folder on your PC, or double click on Open CMD here if you are using the Minimal ADB and Fastboot provided by TechMesto. After that run the following command in CMD Window.
adb reboot-bootloader
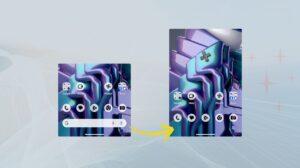
- Now from fastboot mode, boot the Magisk boot image relative to your currently installed Android security patch. For example for December release:
fastboot boot December-2019-magisk-patched.img
You can also drag and drop the .img file into the CMD window after typing the initial command.
- Wait for the phone to start up.
- Now open the Magisk Manager app. You will be prompted for additional setup. Please press on NO.
- Press on the “Install” button next to Magisk is installed. Then tap on “Direct Install (recommended)”. This will install Magisk into your stock boot image.
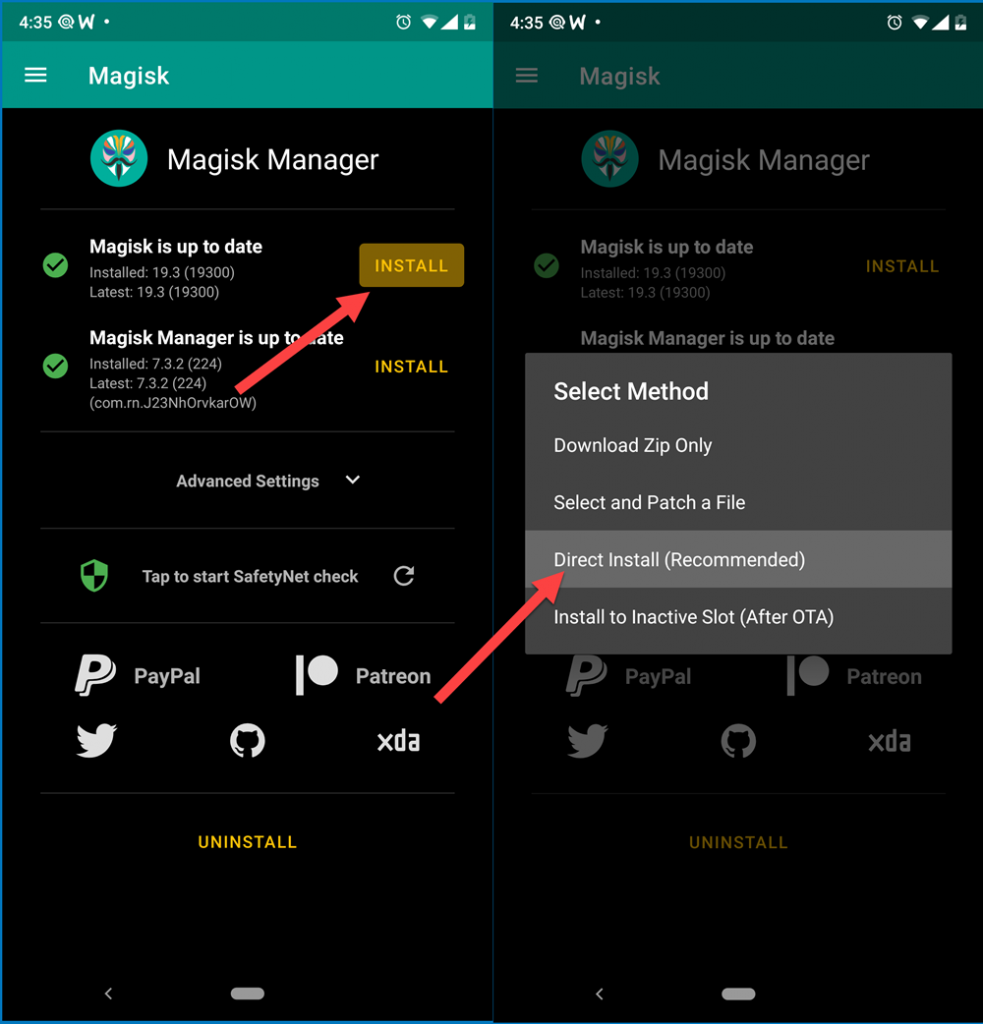
Do Direct Install in Magisk
Tip: If the Install button does not appear, then make sure that your phone has internet access (WiFi or Mobile Data). - Reboot the phone after Magisk has finished the flashing process.
Congrats! Now your Nokia 7.2 or 6.2 rooted with Magisk. You can start using your root apps or Magisk modules. Let the customization game begin! 😉
Common issues:
Stuck on the Nokia logo after booting patched image
If the phone is stuck on Android One or Nokia logo for too long, then you have booted the wrong image or the image is not compatible with your region. There’s nothing to worry and your phone is still fine.
Just force reboot the phone by pressing and holding the Power key for about 20-25 seconds.
Option 2: Root Nokia 6.2 and 7.2 using TWRP recovery
TWRP, the classical method of flashing Magisk is still possible. However, we do not have a bootable TWRP and flashing the boot slot without backup can have complications. So, go with the TWRP method if you are not able to root using Magisk boot images.
- Download the TWRP image for Nokia 7.2 or Nokia 6.2 from XDA. Remember to download the TWRP based on your current Android security patch.
Download links: Nokia 7.2 | Nokia 6.2 - Flash the TWRP file to your boot slot.
fastboot flash boot TWRP-File-Name.img
- Use the volume keys to select “Recovery Mode” and then press the Power key to boot to TWRP.
- Select ADB Sideload mode in the the TWRP.
- Send the Magisk.zip to the phone by using the following command:
adb sideload Magisk.zip - Wait for the process to complete. Then you can reboot to Android system.
That’s it. Now you have a rooted Nokia 7.2 or Nokia 6.2. Remember to be careful while flashing anything. You can brick your device if anything is wrongly flashed.