Cache is a temporary storage where the data of the most commonly used applications is stored for quicker access. Let’s take an example, you are surfing our website TechMesto and press the back button. Now the browser will store some of the data of the page as cache so that when you visit the website again it won’t need to download the entire page again and render it. It will instead access the data from cache and hence reduce the loading time of the page.
Cache is usually cleared when the data becomes obsolete or reaches expiration, but sometimes data keeps getting accumulated which then results in wastage of storage space and the phone also starts lagging. So, it is important that you clear cache frequently (monthly).
Steps to Clear Cache of Android Devices
There are two separate ways to clear the cache of Android smartphones. One is from settings and the other via the recovery. Doing via recovery is recommended, but you can make your own choice.
Also, depending on your manufacturer and the ROM, the options might slightly differ over what they are mentioned below.
Method 1 – Clearing the Cache from the Settings
- Navigate to Settings> Storage
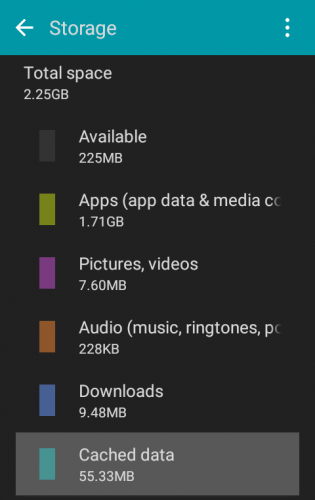
- Under Storage you will see the entry for Cached data which displays the memory consumed by cache.
- Click on it, a pop-up will come saying Clear Cached Data”.
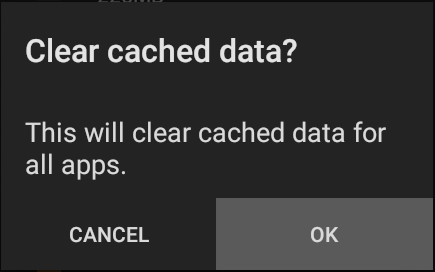
Clear Caches - Select OK.
You can also clear cache for each application. Just Navigate to Settings> Apps. Select the app and choose Clear Cache.
Method 2 – Clearing the Cache from Recovery
- Turn off your smartphone and boot to Recovery. Key Combination for booting to recovery is different for different manufacturers. For most it is Volume Up (or Volume Down) + Power Key.
- In the recovery touch doesn’t work, so use the Volume Up and Volume Down keys to move up and down and Power Key to select.
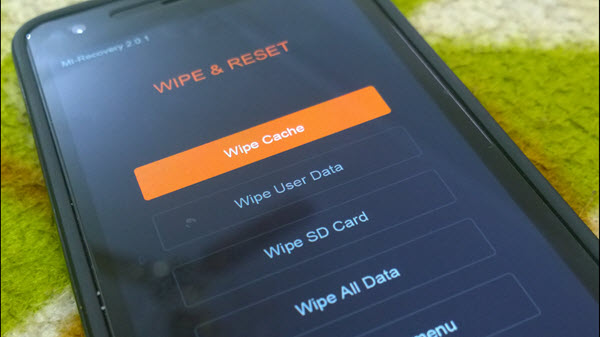
Clear Cache in Mi Recovery - By using the volume keys go to Wipe Cache Partition (or something similar) and select it.
- It will take few seconds to wipe off the caches. After the process is completed, select Reboot System Now to reboot your device.
That’s it, now all the caches has been cleared up. As most of the Android user didn’t knew about the caches, similarly there are many more small question in their mind. Here are the answer for some of the questions: Frequently Asked Questions By Every Android User