OnePlus 5 running Android Nougat can now be rooted i.e. you can now get the superuser access on your OnePlus 5. It’s all possible thanks to the availability of TWRP recovery, which is what we need to install first to gain root access. Though, that’s not really the first step, as we would need to unlock the bootloader of your OnePlus 5 first. So, achieving root access on OnePlus 5 goes in this order:
- Unlock bootloader: To unlock Bootloader refer to this tutorial – How to Unlock Bootloader on OnePlus 5
- Install TWRP: Continue reading.
- Root OnePlus 5 by flashing SuperSU: Continue reading.
Steps to Install TWRP Recovery & Root OnePlus 5
- Once you have unlocked boot loader by following this tutorial, your device will be booted back in a factory reset condition. So you need to enable the “Developer Options” back again by navigating to “About Phone” section in Settings and tapping 7 times continuously on the “Build Number”.
- After that navigate to the Settings > Developer Options and enable “USB Debugging” option.

- Download TWRP recovery from here, and place it in “C:/adb” folder.
- Also download SuperSU or Magisk from the below links copy them to your OnePlus 5. Download any of them. They will be required to gain root access. Do make sure that you remember the folder where you have saved the SuperSU or Magisk.
Download SuperSU Download Magisk - Now connect your device to PC and open command prompt or Windows Powershell on your PC and type the following commands one by one:
adb devices
adb reboot bootloader
fastboot devices
fastboot flash recovery recovery_image_name.img
*replace recovery_image_name with the exact name of the downloaded TWRP image file.

Flashing TWRP Recovery - PLEASE MAKE SURE THAT YOU DO NOT REBOOT YOUR DEVICE TO THE OS DIRECTLY AFTER THE ABOVE STEP. BOOT YOUR DEVICE INTO TWRP RECOVERY USING THE KEY COMBINATION “POWER BUTTON + VOLUME DOWN”.
- Once you are booted into TWRP recovery, just hit install button & navigate to the path where you have placed SuperSU or Magisk. Select any of the file and swipe towards right to continue flashing.
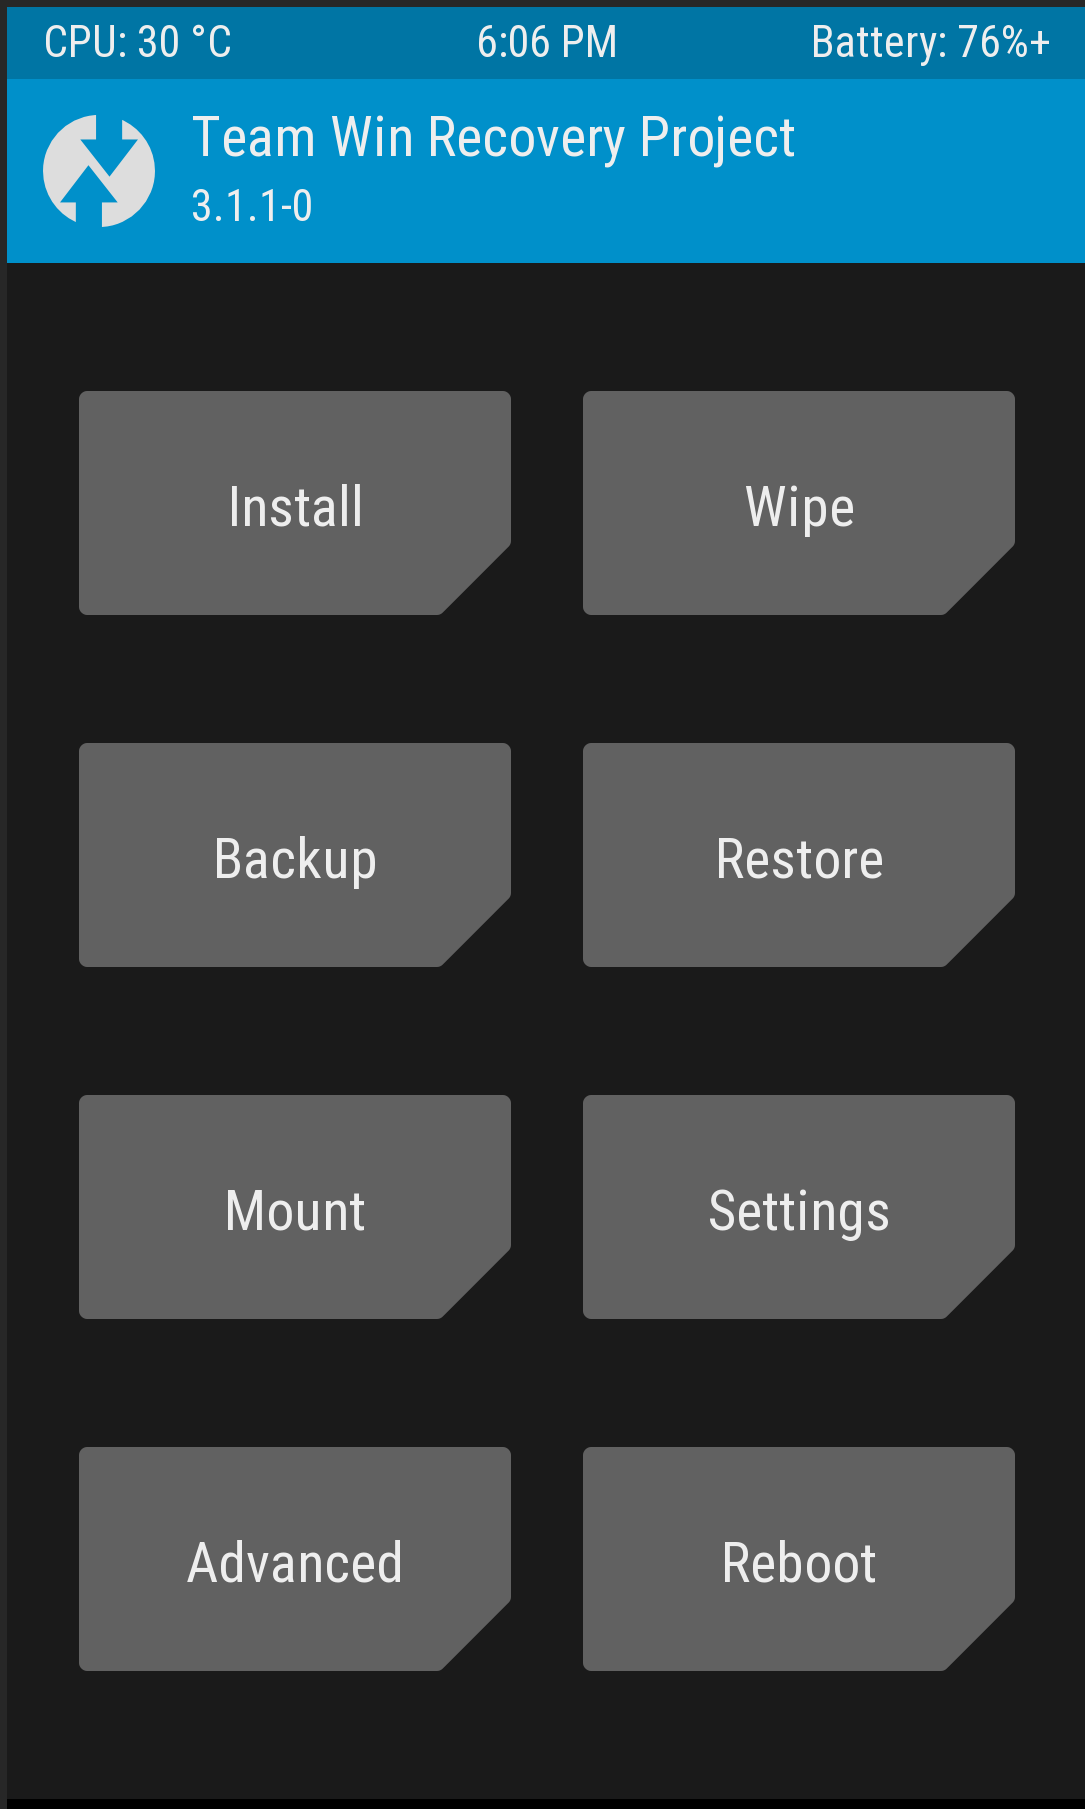
TWRP 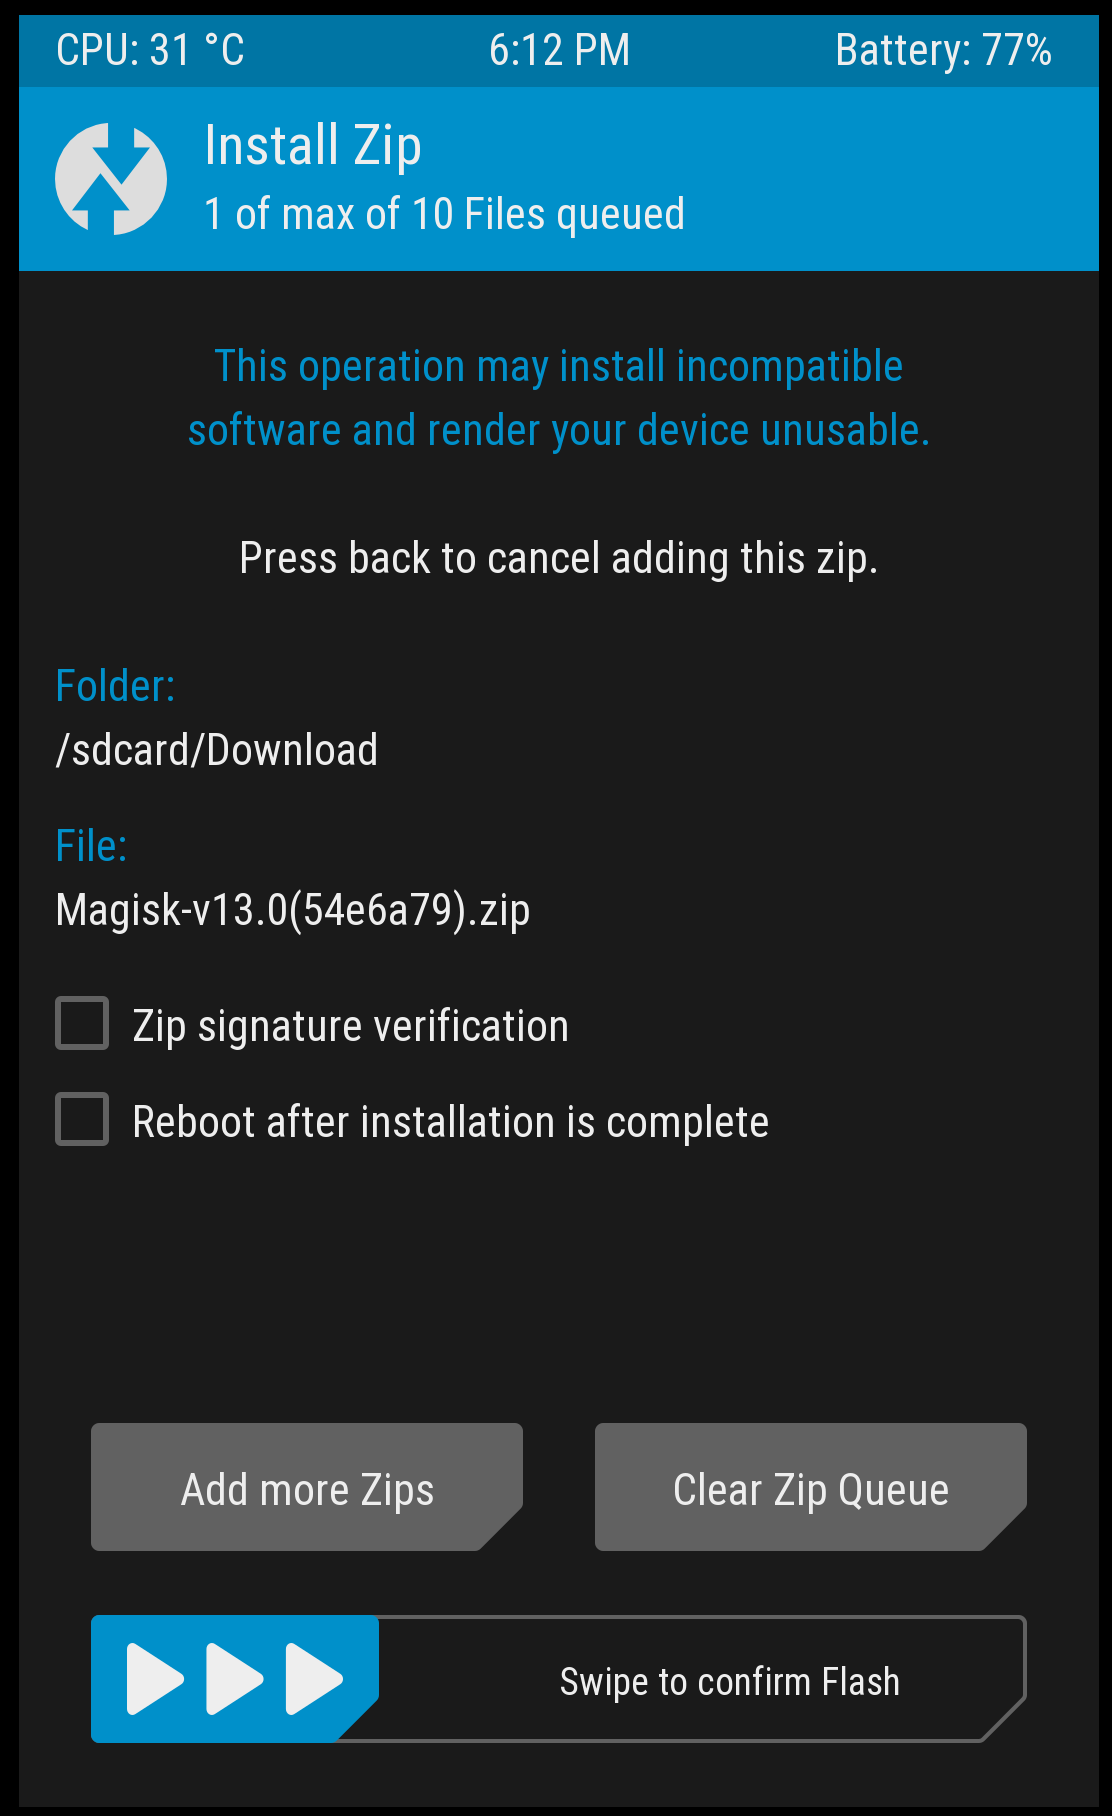
Installing Magisk & Rooting

That’s it. Now you have installed custom recovery on your OnePlus 5 and rooted it. You can reboot the device to Android OS and use any root checker app from the Play Store to confirm that the device has been successfully rooted.
Did it work? Let us know if you were successful in rooting your OnePlus 5. If you face any issue, then just drop a comment in the section below. We will help you out in fixing your issue. 🙂